SpaceWire UK
Specialist providers of VHDL Intellectual Property & Design Services


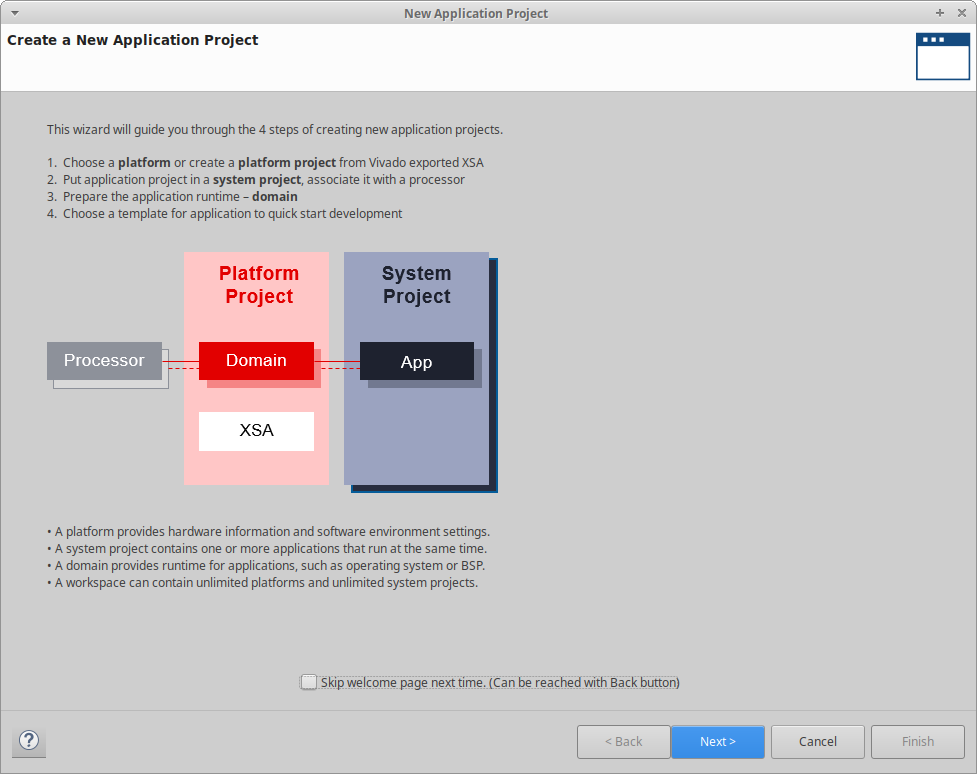
 The New Application : Project Create a New Project window will now appear. Review the information provided and then click Next.
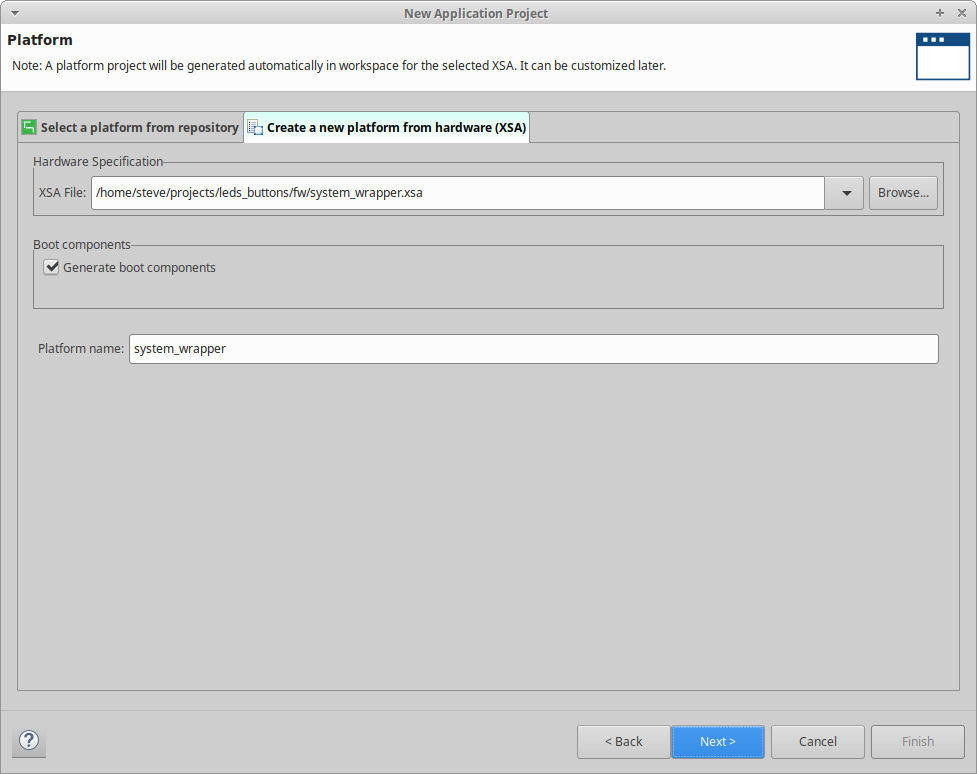
 The New Application Project : Platform window will now appear. Select the exported hardware platform from Vivado by entering the Create a new platform form hardware (XSA) tab and setting the XSA File
to /home/steve/projects/leds_buttons/fw/system_wrapper.xsa. Click Next to continue.
The New Application Project : Platform window will now appear. Select the exported hardware platform from Vivado by entering the Create a new platform form hardware (XSA) tab and setting the XSA File
to /home/steve/projects/leds_buttons/fw/system_wrapper.xsa. Click Next to continue.
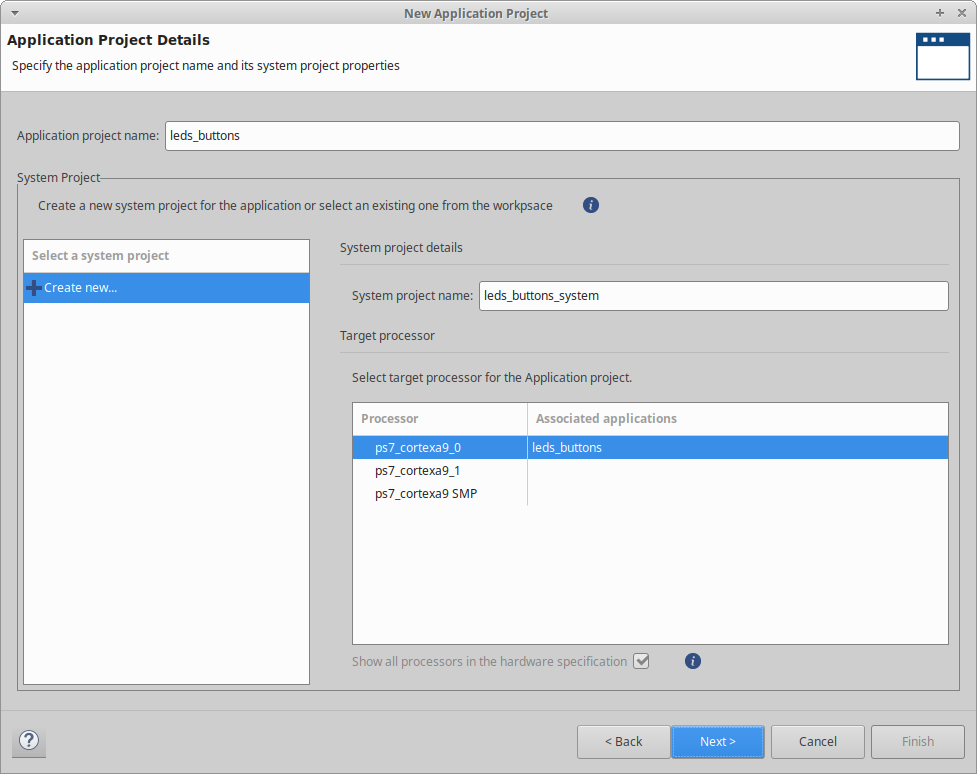
 The New Application Project : Application Project Details window will now appear. Set the Application project name to leds_buttons and then click Next.
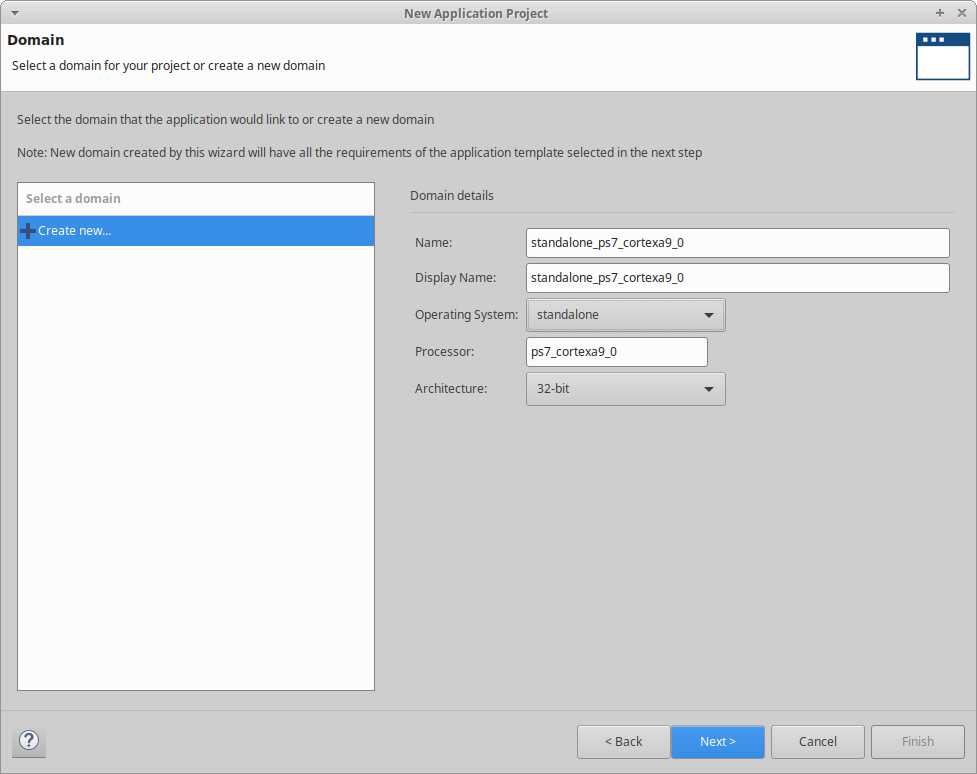
 The New Application Project : Domain window will now appear. The default settings as shown are fine for this project. Click Next to contune.
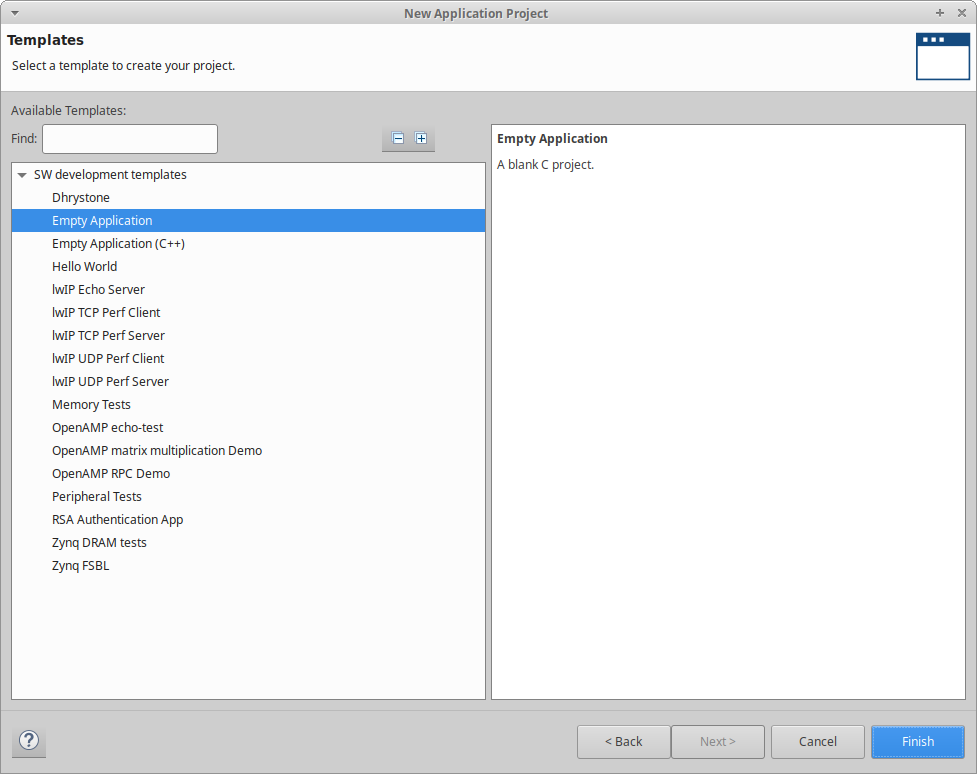
 The New Application Project : Templates window will now appear. Create an empty application by selecting Empty Application from the Available Templates section. Click Finish to contune.
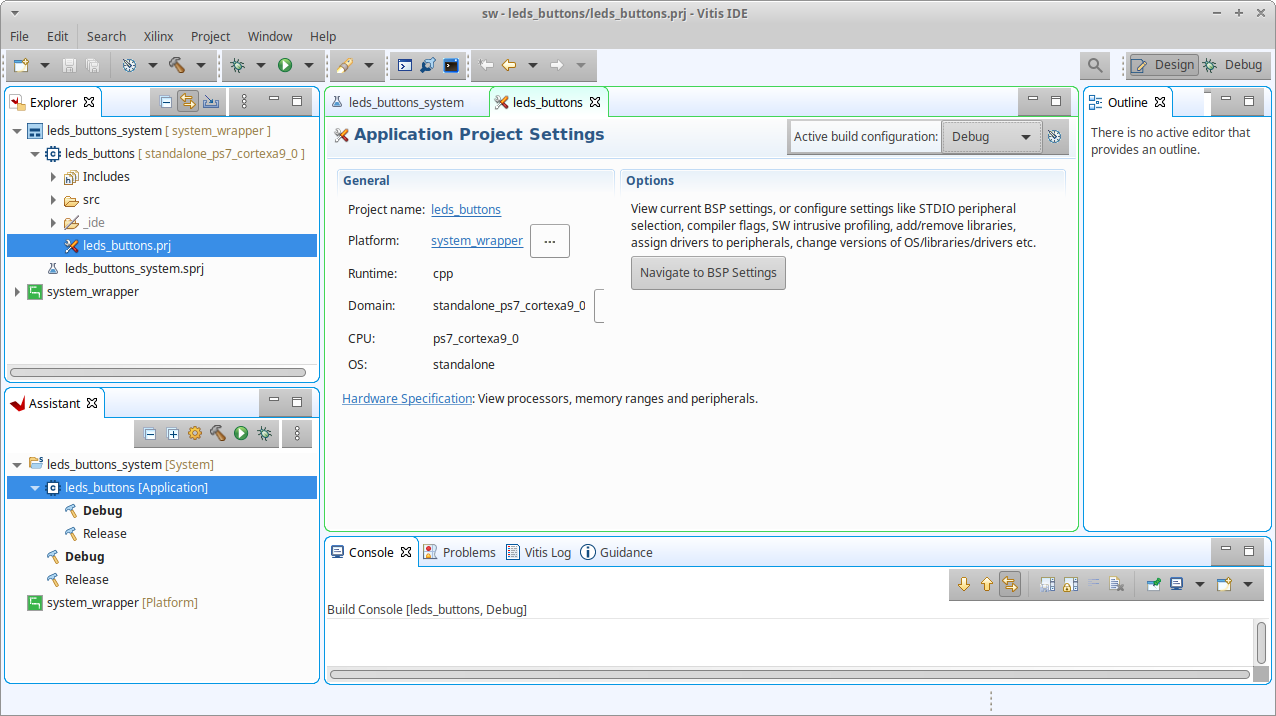
 The Vitis IDE cockpit window will now appear. This is the window where all the action happens.
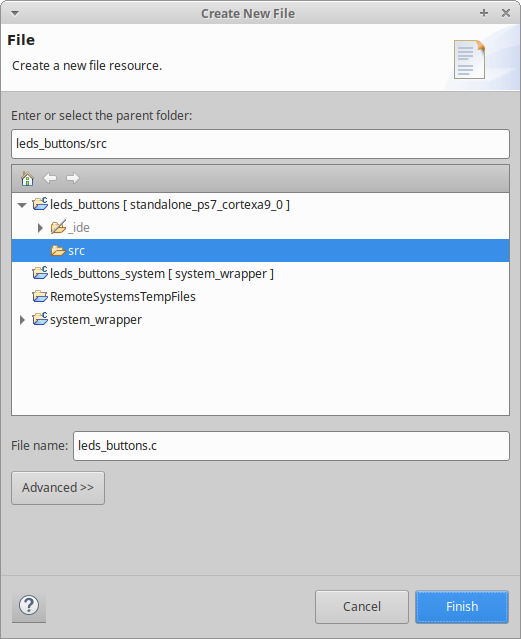
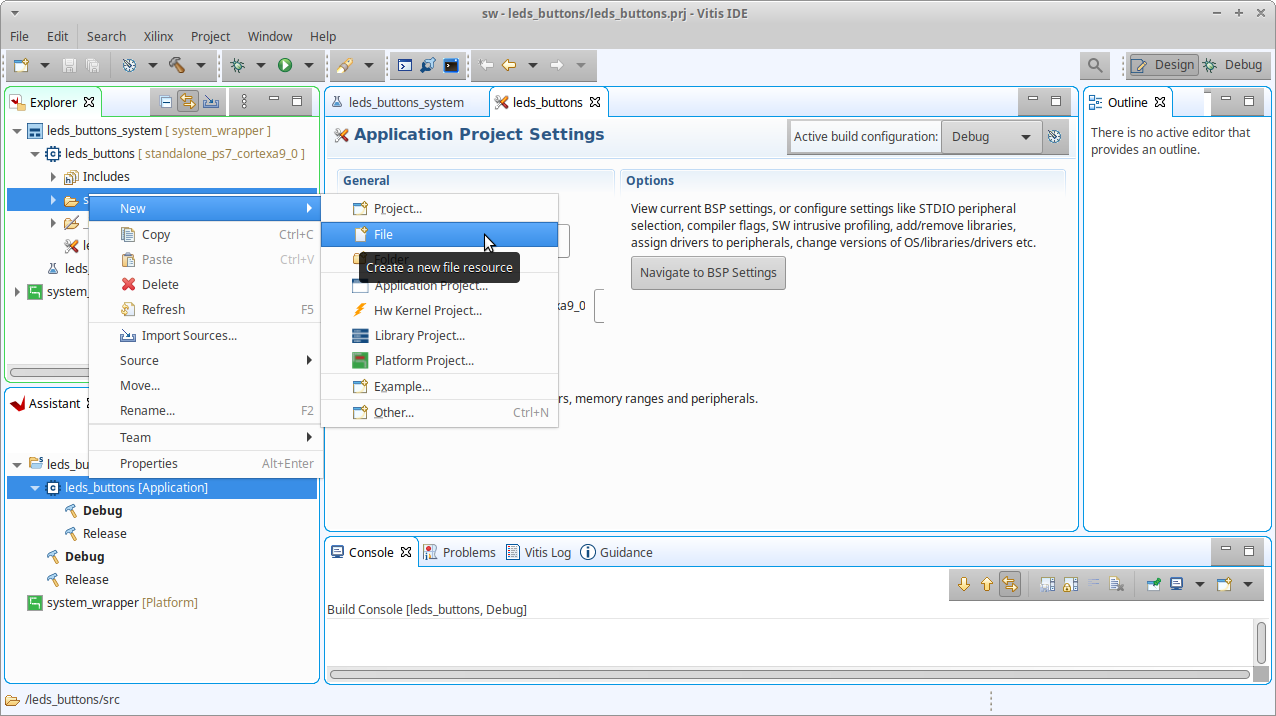 In the Create New File dialog set the File name to leds_buttons.c and click Finish to continue.
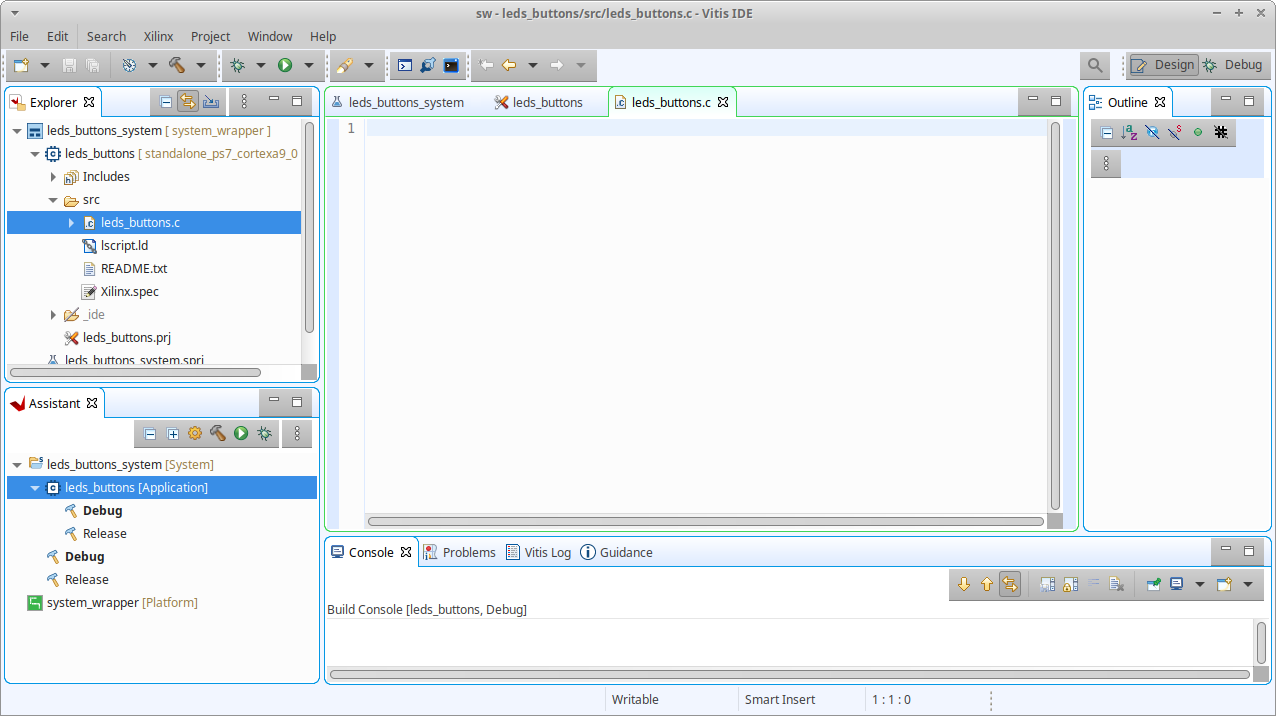
 The new source file is automatically opened in the Vitis IDE for editing.
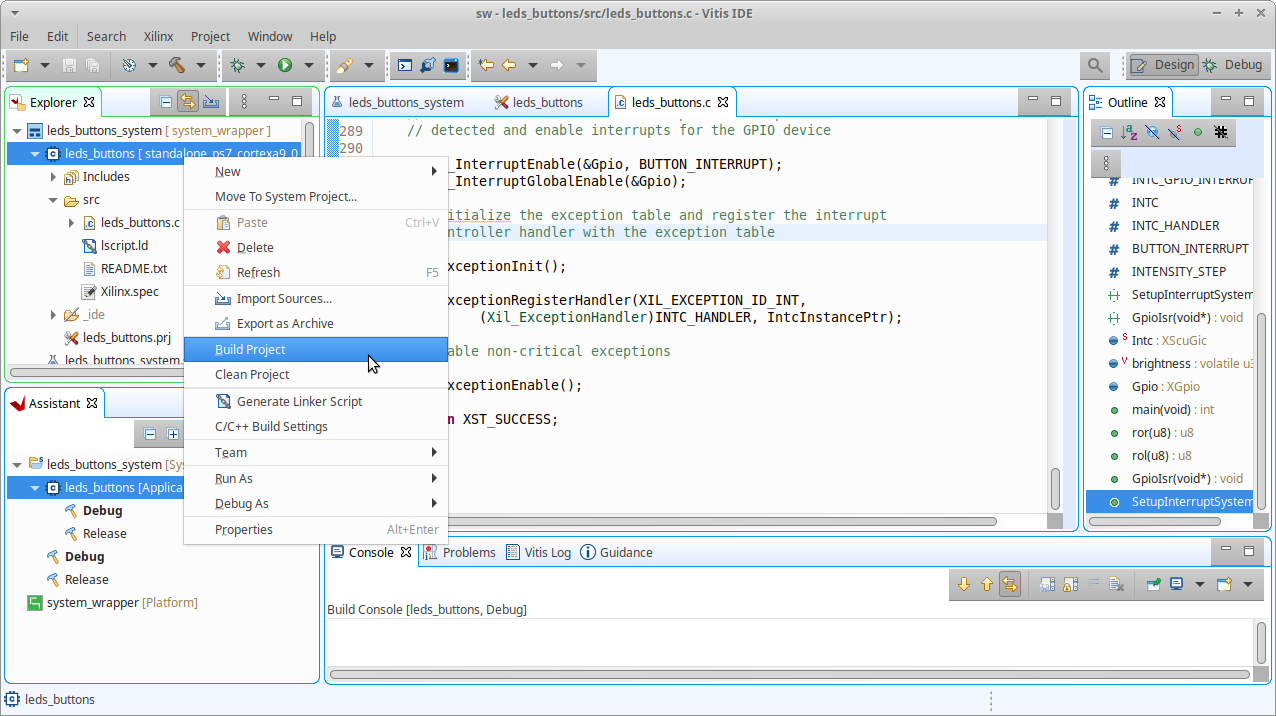
 Copy the code below into the newly created leds_buttons.c and save it by selecting File » Save from the main menu.
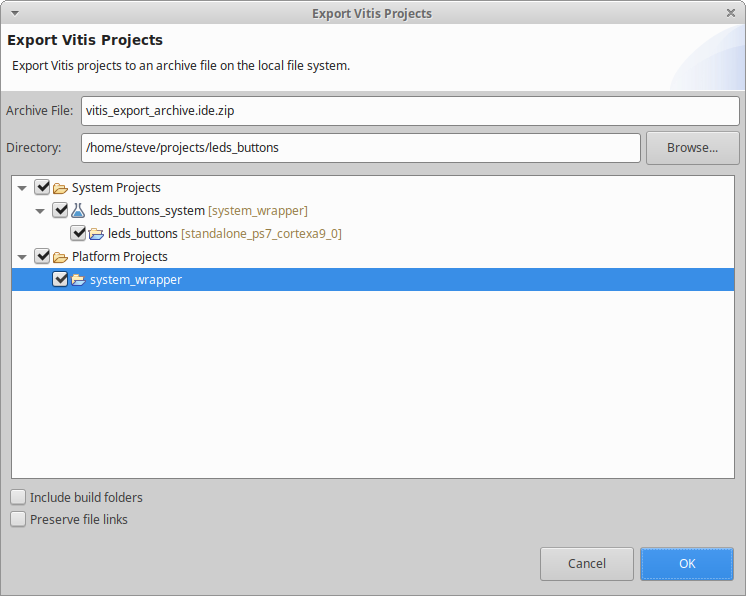 In the Export Vitis Projects status dialog click OK to continue.
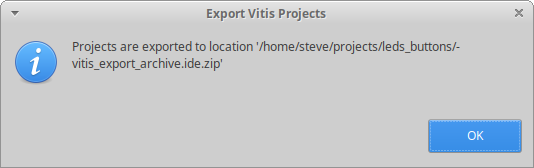 Add the file /home/steve/projects/leds_buttons/vitis_export_archive.ide.zip to the revision control system & commit (optional).