Bar
SpaceWire UK
Specialist providers of VHDL Intellectual Property & Design Services
BarBarBarBar
Tutorial
Missing Image!
Part 12 - Build pre-existing application into PetaLinux

Introduction

This tutorial details the steps required to enable and install the pre-existing peek & poke applications and check they are working as expected.

Aims

The aims of this tutorial are as follows :-
  1. Setup environment
  2. Change present working directory
  3. Enable peek/poke application
  4. Build, package & deploy on Zedboard
  5. Launch terminal emulator
  6. Check application is installed & working

1. Setup environment

Setup Xilinx design environment for the 2020.2 toolset.
steve@Linux-Steve:/home/steve$ source xilinx.sh
Xilinx tools available tools at /opt/Xilinx :-
1) 2020.2 - Vivado - SDK - Vitis - PetaLinux
0) Exit
Please select tools required or exit : 1

Tools are as follows :-
vivado @ /opt/Xilinx/Vivado/2020.2/bin/vivado
vitis @ /opt/Xilinx/Vitis/2020.2/bin/vitis
petalinux-build @ /opt/Xilinx/PetaLinux/2020.2/tool/tools/common/petalinux/bin/petalinux-build

2. Change present working directory

Change the present working directory to be the project directory.
steve@Linux-Steve:/home/steve$ cd /home/steve/projects/petalinux/avnet-digilent-zedboard-2020.2

3. Enable peek/poke application

The GPIO application is enabled through the configuration tool. Launch the tool to begin.
steve@Linux-Steve:/home/steve/projects/petalinux/avnet-digilent-zedboard-2020.2$ petalinux-config -c rootfs
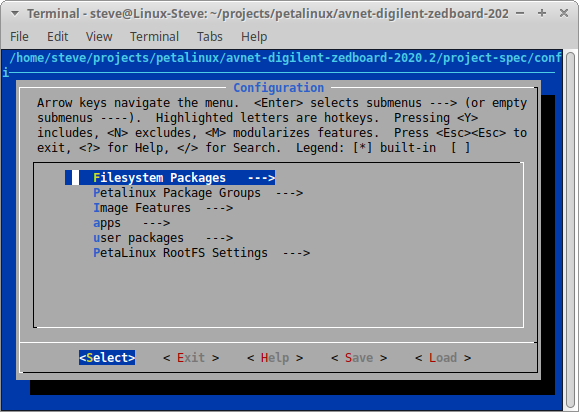
The configuration tools should now present the root menu. Missing Image! Tip: Use the up & down arrow keys to nagivate the heirarchy, the left & right arrow keys to navigate the bottom menu, the enter key to select heirarchy/menu items, and the y & n keys to enable/disable components.
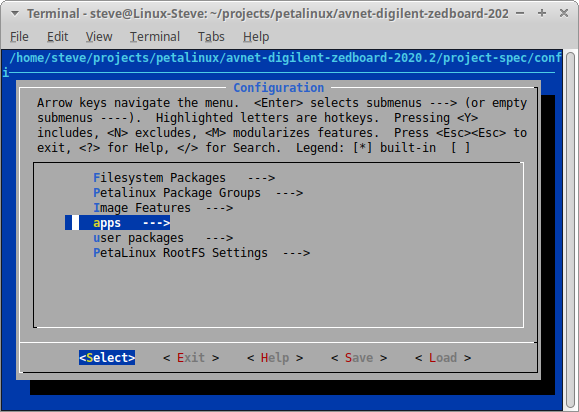
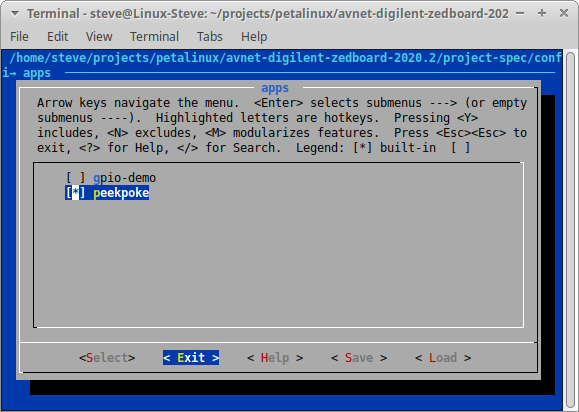
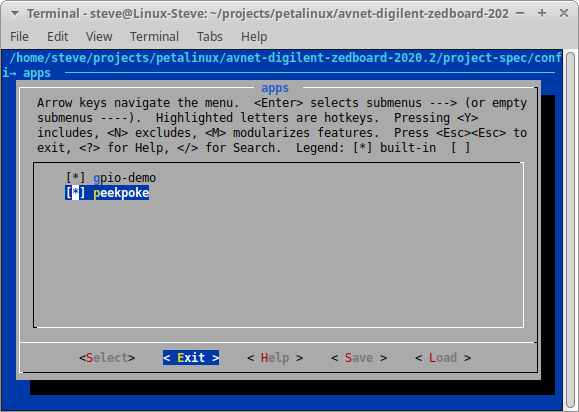
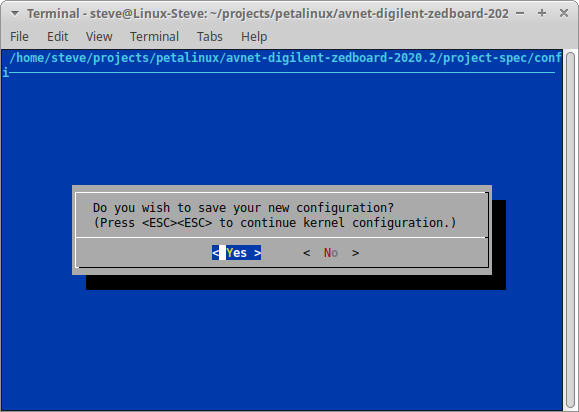
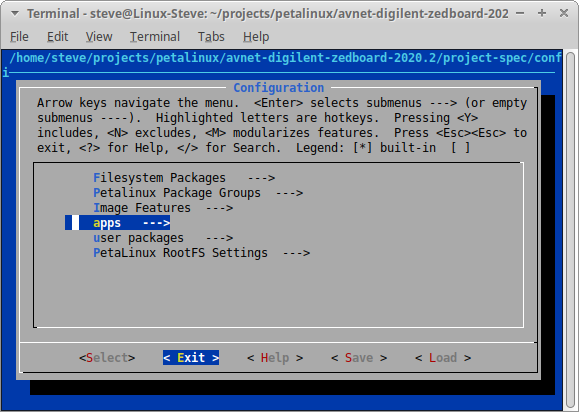
Navigate to apps and select it to enter the apps menu. Missing Image! Enable the peekpoke application. Missing Image! Exit the apps menu. Missing Image! Exit the configuration tool by exiting the root menu. Missing Image! Save the configuration on exit. Missing Image!
4. Build, package & deploy on Zedboard

Rebuild the project to include the updated files, package it up ready for deployment, power cycle the Zedboard and deploy via JTAG.
steve@Linux-Steve:/home/steve/projects/petalinux/avnet-digilent-zedboard-2020.2$ petalinux-build
steve@Linux-Steve:/home/steve/projects/petalinux/avnet-digilent-zedboard-2020.2$ petalinux-package --prebuilt --force
steve@Linux-Steve:/home/steve/projects/petalinux/avnet-digilent-zedboard-2020.2$ petalinux-boot --jtag --prebuilt 3

5. Launch terminal emulator

Launch the MiniCom terminal emulator if not already running.
steve@Linux-Steve:/home/steve/projects/petalinux/avnet-digilent-zedboard-2020.2$ minicom -D /dev/ttyACM0 -b 115200

6. Check application is installed & working

When the PetaLinux login prompt appears login using the root credentials.

Check the peek & poke applications have installed correctly by launching them.
root@avnet-digilent-zedboard-2020_2:~# peek
usage: peek ADDR

ADDR may be specified as hex values
root@avnet-digilent-zedboard-2020_2:~# poke
usage: poke ADDR VAL

ADDR and VAL may be specified as hex values
Check the peek application works by setting the outer two slides switches to their on position and reading the slide switch register.
root@avnet-digilent-zedboard-2020_2:~# peek 0x41200008
0x00000081
Check the poke application works by writing to the LED register, illuminating the outer four LED's and then the inner four.
root@avnet-digilent-zedboard-2020_2:~# poke 0x41200000 0xC3
root@avnet-digilent-zedboard-2020_2:~# poke 0x41200000 0x3C