SpaceWire UK
Specialist providers of VHDL Intellectual Property & Design Services


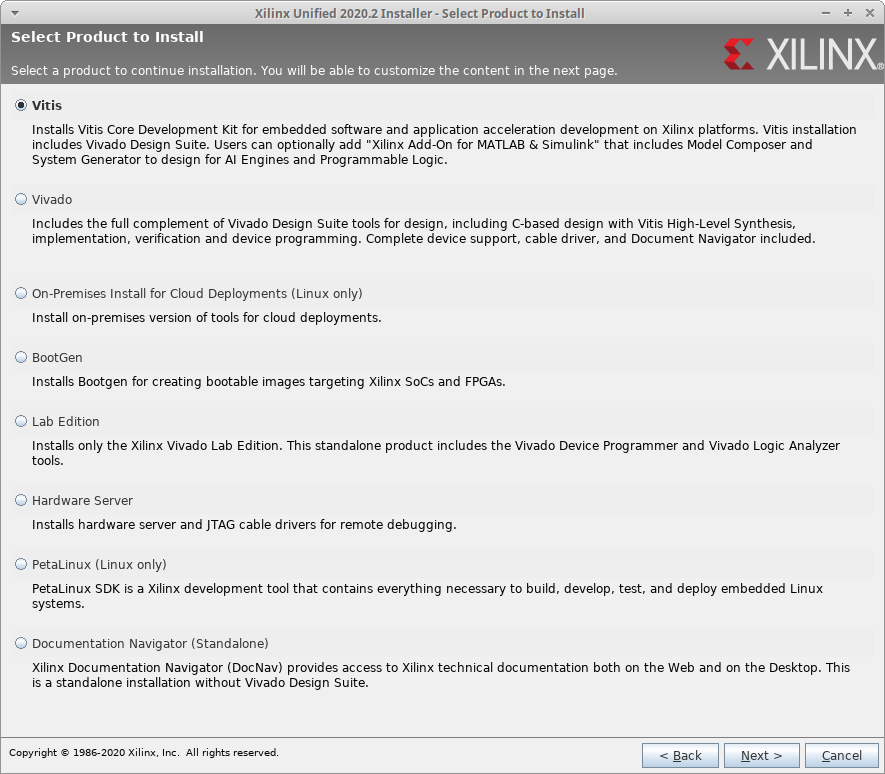
 In the Select Product to Install dialog select Vitis and click Next to proceed.
 In the Vitis Unified Software Platform dialog, expand the menu items and select only what is required based on licensing and disk space. The default is to install everything which uses 109.14 Gb of disk space. The following shows the minimum required to use the ZedBoard with a WebPack license. Once happy with the selections click Next to proceed.
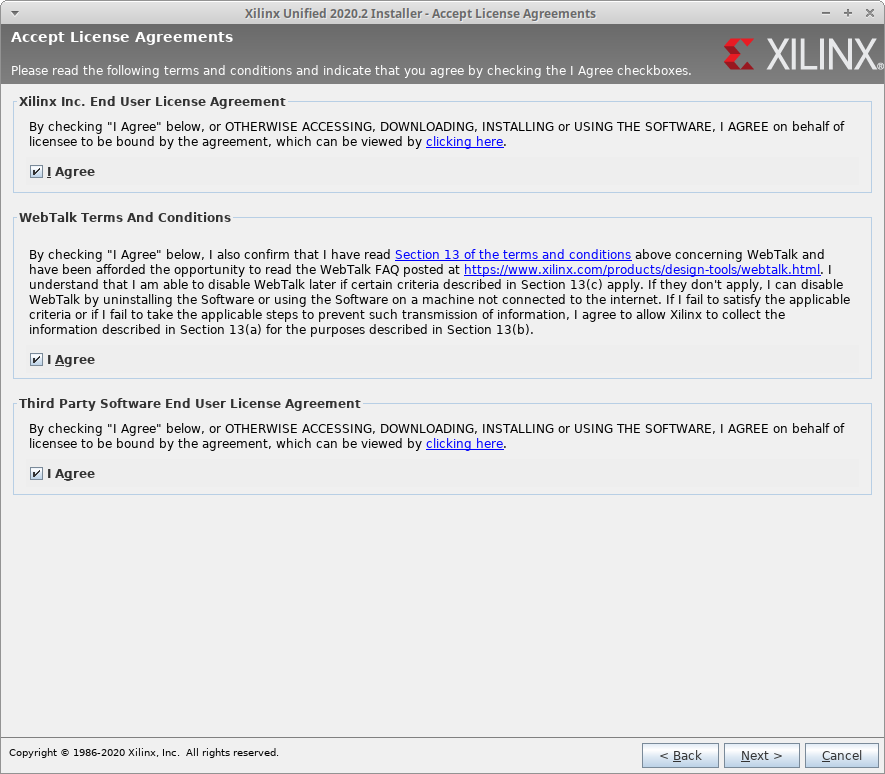
 In the Accept License Agreements dialog, tick all three I Agree boxes and click Next to proceed.
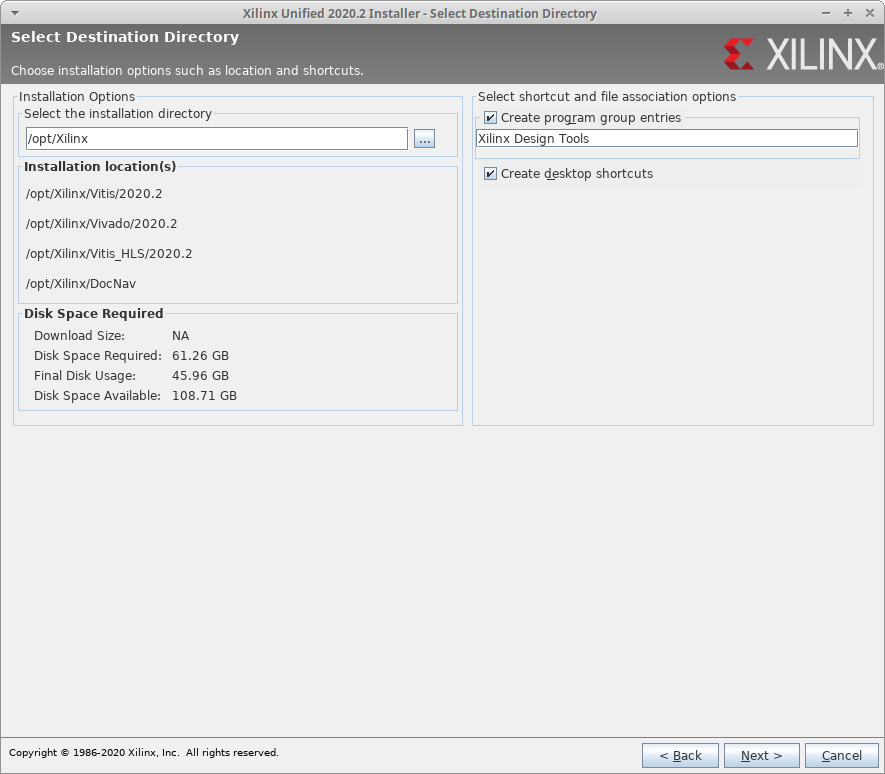
 In the Select Destination Directory dialog, enter /opt/Xilinx for the installation directory, untick the Create program group entries, untick the Create desktop shortcuts and click Next to proceed. Note the location of DocNav, this is not versioned like Vitis, Vivado & Vitis HLS, hence any existing DocNav installation at this location will be overwritten (the installer will warn if so).
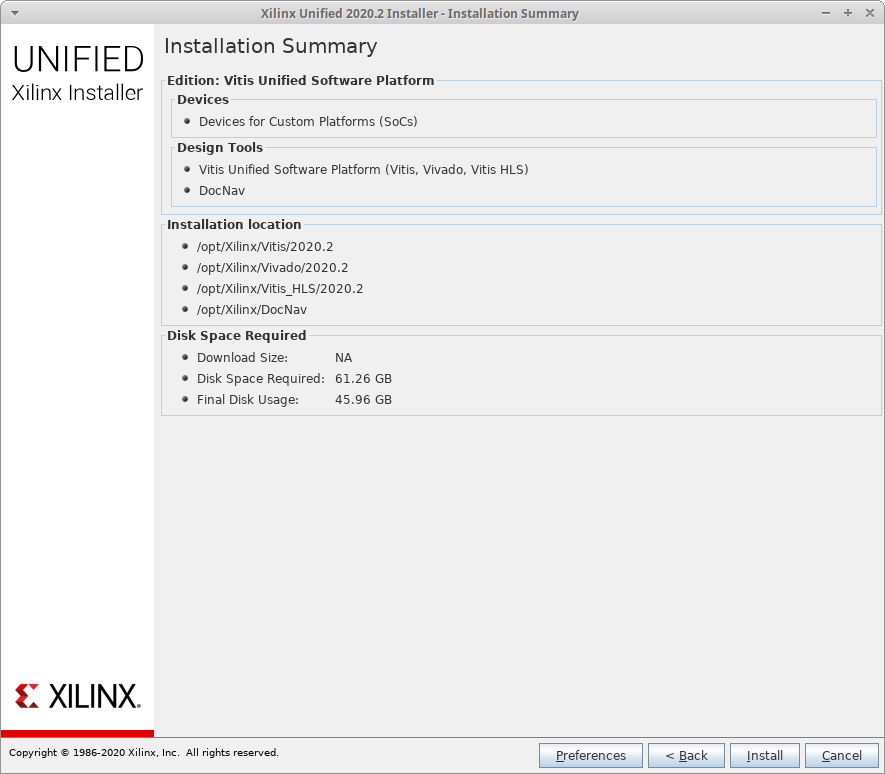
 In the Installation Summary dialog, review the details provided and click Install to proceed.
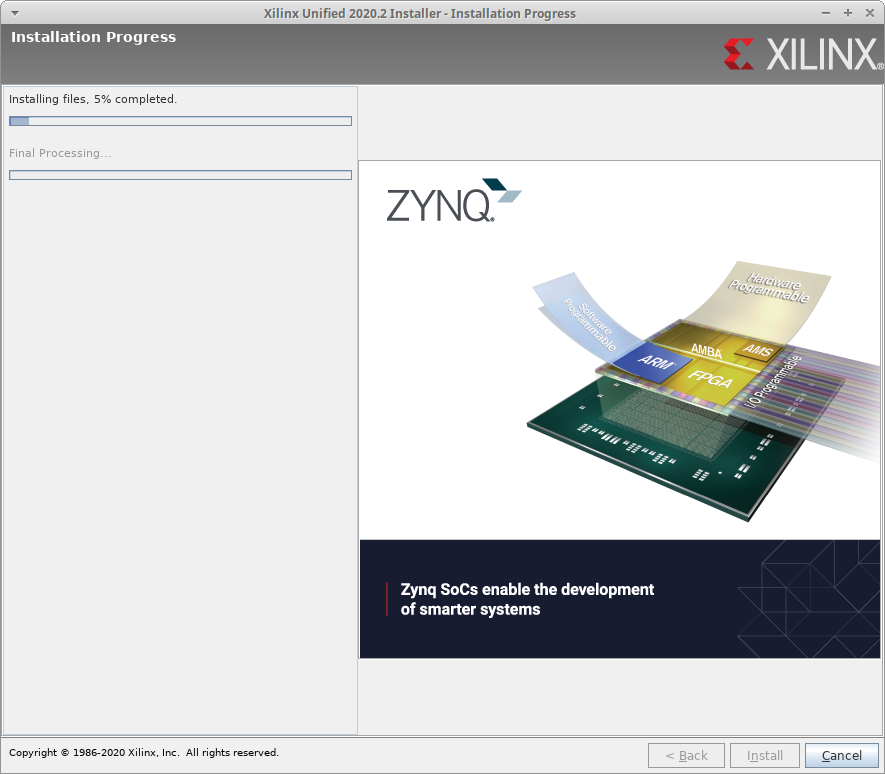
 The Installation Progress dialog will now appear showing the progress of the installation (takes around 45 minutes to complete).
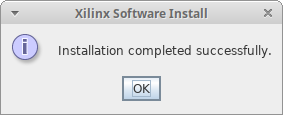
 Once installation is complete the Xilinx Software Install dialog will appear, click OK to proceed.
 Depending on what devices were selected for installation will ultimately determine whether or not further dialogs appear regarding licensing arrangements. With just Zynq-7000 selected no further dialogs appear and the WebPack license will be used as default.
In the Select Product to Install dialog select PetaLinux (Linux only) and click Next to proceed.
Depending on what devices were selected for installation will ultimately determine whether or not further dialogs appear regarding licensing arrangements. With just Zynq-7000 selected no further dialogs appear and the WebPack license will be used as default.
In the Select Product to Install dialog select PetaLinux (Linux only) and click Next to proceed.
 In the Accept License Agreements dialog, tick all three I Agree boxes and click Next to proceed.
In the Select Destination Directory dialog, enter /opt/Xilinx for the installation directory, untick the Create program group entries, untick the Create desktop shortcuts and click Next to proceed.
In the Accept License Agreements dialog, tick all three I Agree boxes and click Next to proceed.
In the Select Destination Directory dialog, enter /opt/Xilinx for the installation directory, untick the Create program group entries, untick the Create desktop shortcuts and click Next to proceed.
 In the Installation Summary dialog, review the details provided and click Install to proceed.
 In the Xilinx Software Install dialog, review the details and click OK to proceed.
